Scanning
Documents can be scanned immediately after being recorded, or they can be scanned later using the GRIDS Scanning application. Office Scanning is used to scan after recording, but the GRIDS Scanning application is used to scan later.
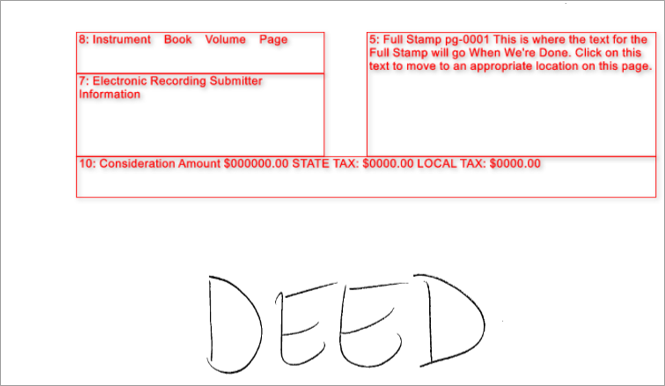
eStamps can be placed on the document prior to scanning or electronically.
The Office Scanning Application
Click each step below to learn more about working with the Office Scanning Application.
Navigate to Cashiering > Home
On the Cashiering Home screen, click Retrieve Invoice.
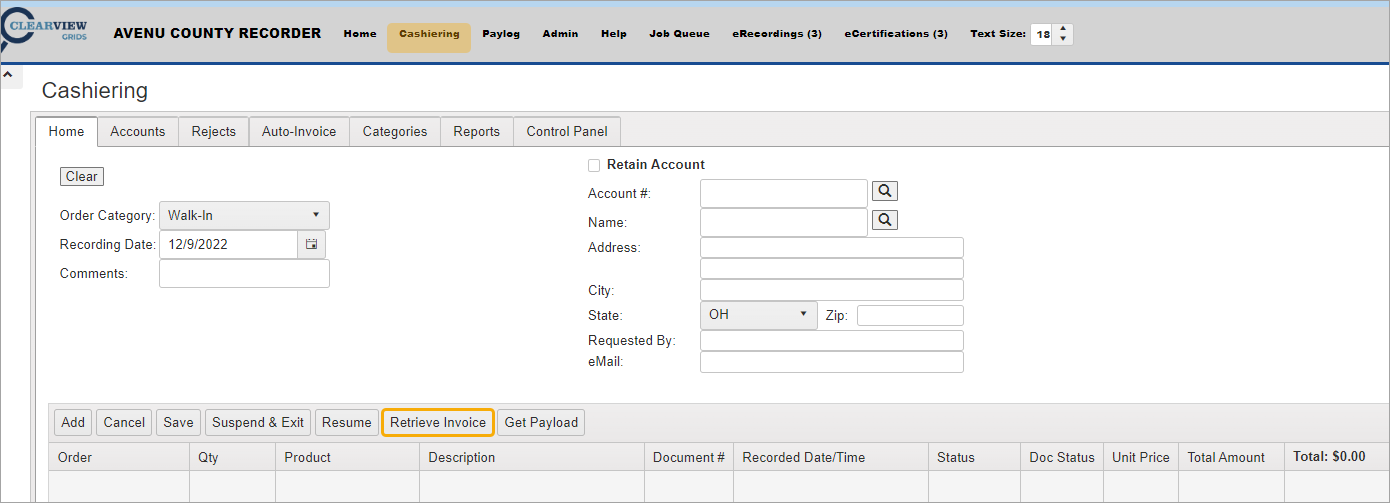
Locate desired item and click the Select button.

For more information, see Retrieve Invoice.
The Scan button will be displayed in the grid.
Click the Scan button in the row displaying the selected item.

After clicking Scan, the scanning viewer opens.
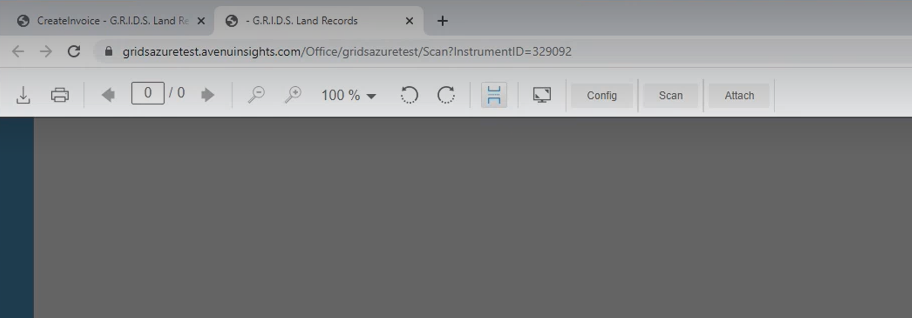
Place the document in your scanner.
Click the Scan button on the toolbar.

The Scan dialog opens.
If the document has not been scanned yet, the dialog defaults to New Document.
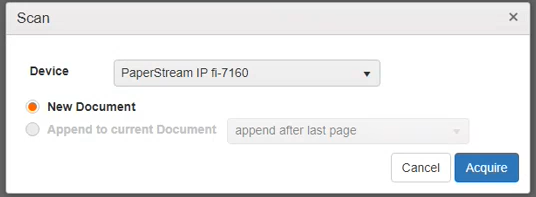
Click Acquire to initiate the scan.

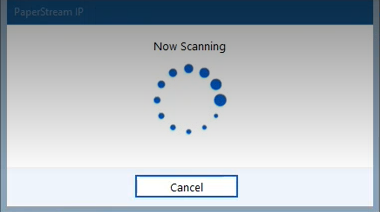
A “Now Scanning” message is displayed. You can cancel at this point if you need to.
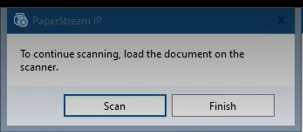
The system prompts with an option to click Scan again in case there are more documents you want to scan.
If you are done scanning, click Finish.
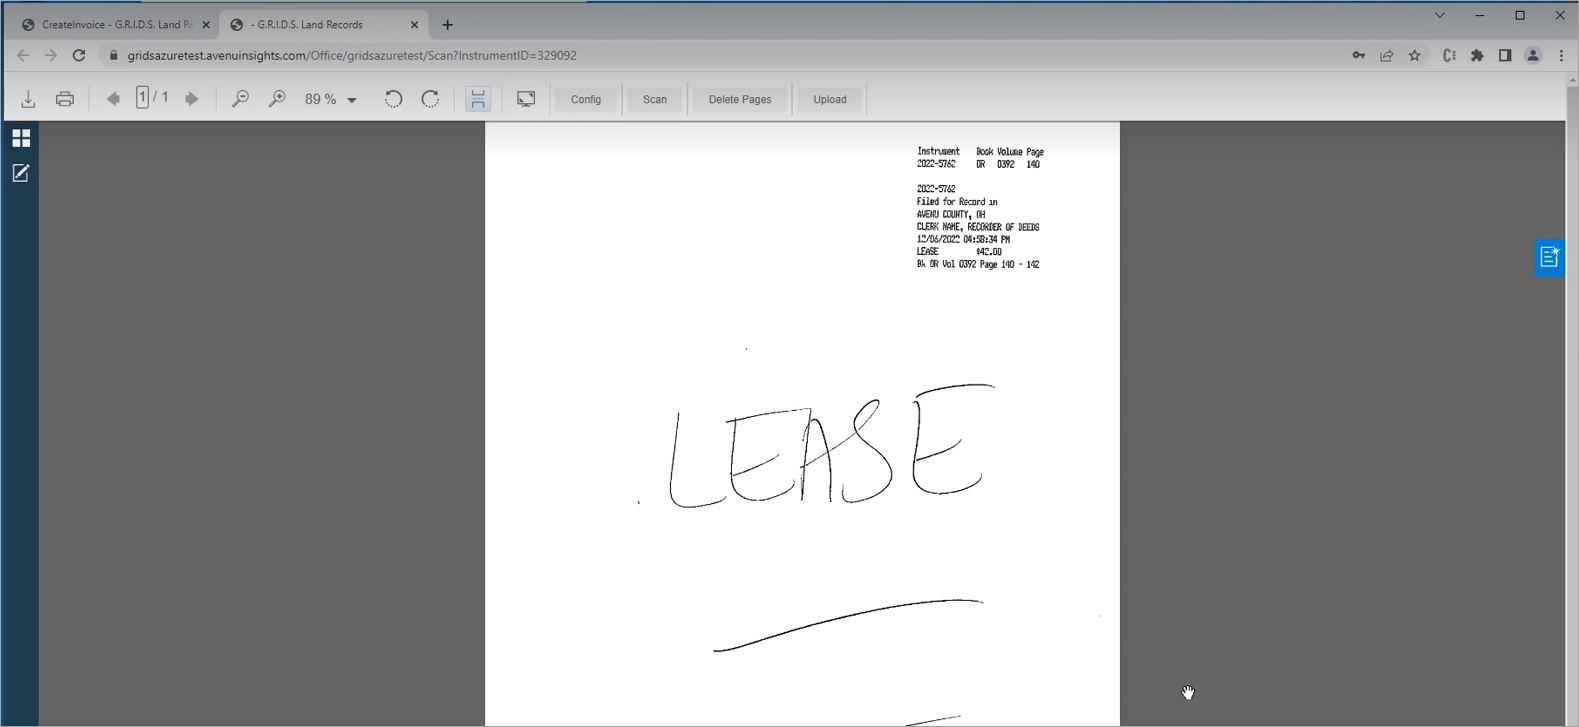
The scanned document is displayed in the viewer.
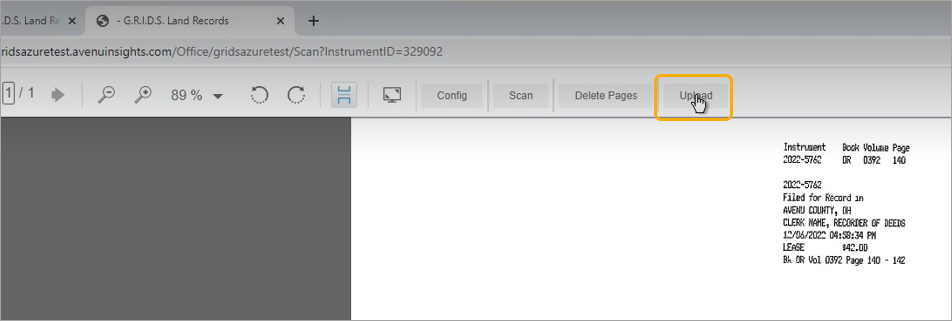
Now you can click the Upload button on the toolbar.
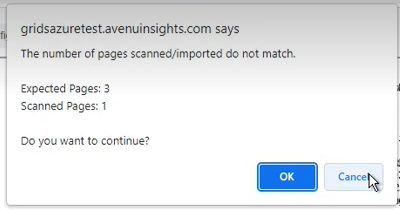
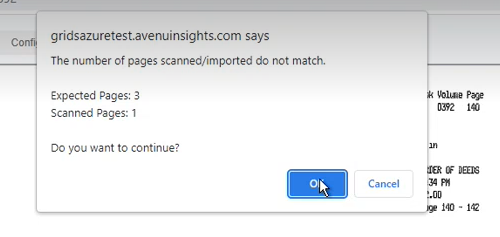
If the scanned page count doesn’t match the number of pages indicated in the recorded document information, an error message is displayed.
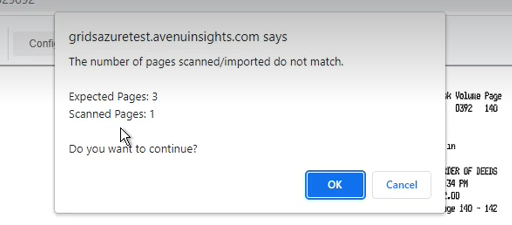
To cancel the current scan operation and scan in additional pages, click the Cancel button.
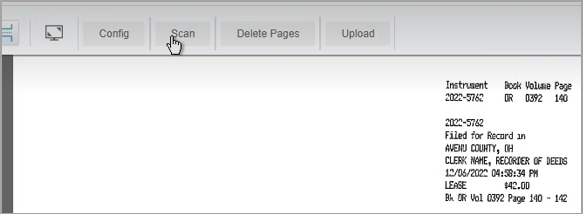
Insert the additional pages in the scanner, and click the Scan button.
When you are ready to save the scanned and uploaded pages, click OK.
A success message is displayed.

And the document is now attached to the order.
Use the Attach feature to add other documents to an order. Your browser window will open and you can select single/multi-page TIF, PNG, or PDF image files to import. This is useful for oversized maps or documents that come in electronic format.

Click the Attach button and search for the document to import.

Once the file is located, click the Open button to upload and save it.

Enter Instrument# in Search Criteria and the desired order in the Instrument # field.
Click Search.

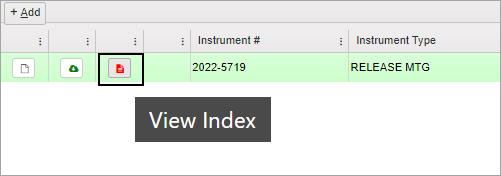
Click the red document icon, “View Index,” to bring up the document in the viewer and the Index screen with indexed information.
In the document viewer, click Edit Document.

This opens the document in the scan viewer.
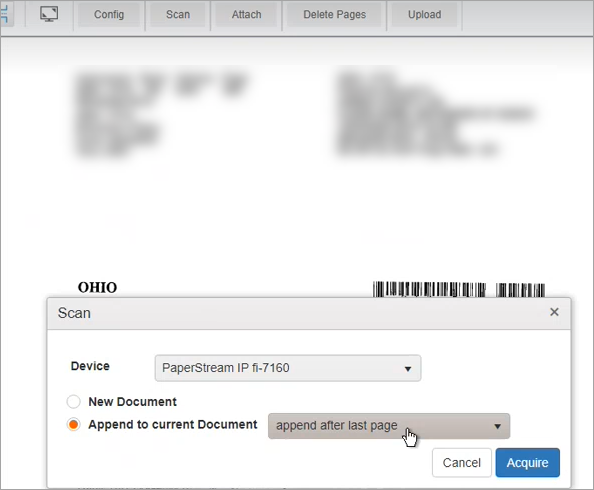
Click Scan.

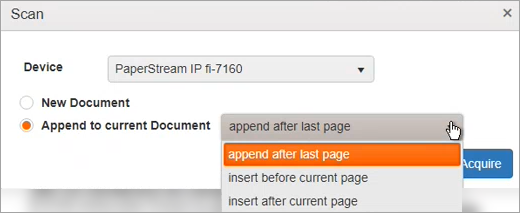
Now the scanner dialog defaults to “Append to current Document” and has dropdown options available.
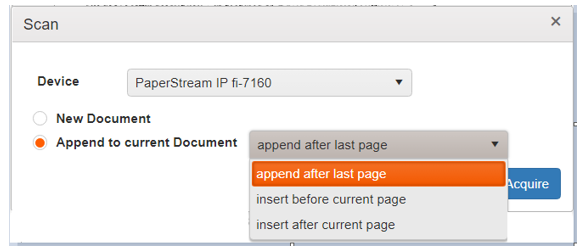
Choose “append after last page,” “insert before current page,” or “insert after current page.”
Click Acquire when the page is in the scanner and ready to be scanned.
Then click the Upload button on the toolbar.

The GRIDS Scanning Application
Click each step below to learn more about working with the GRIDS Scanning Application.
-
Open the GRIDS Scanning application.
-
Click the Scanning button.

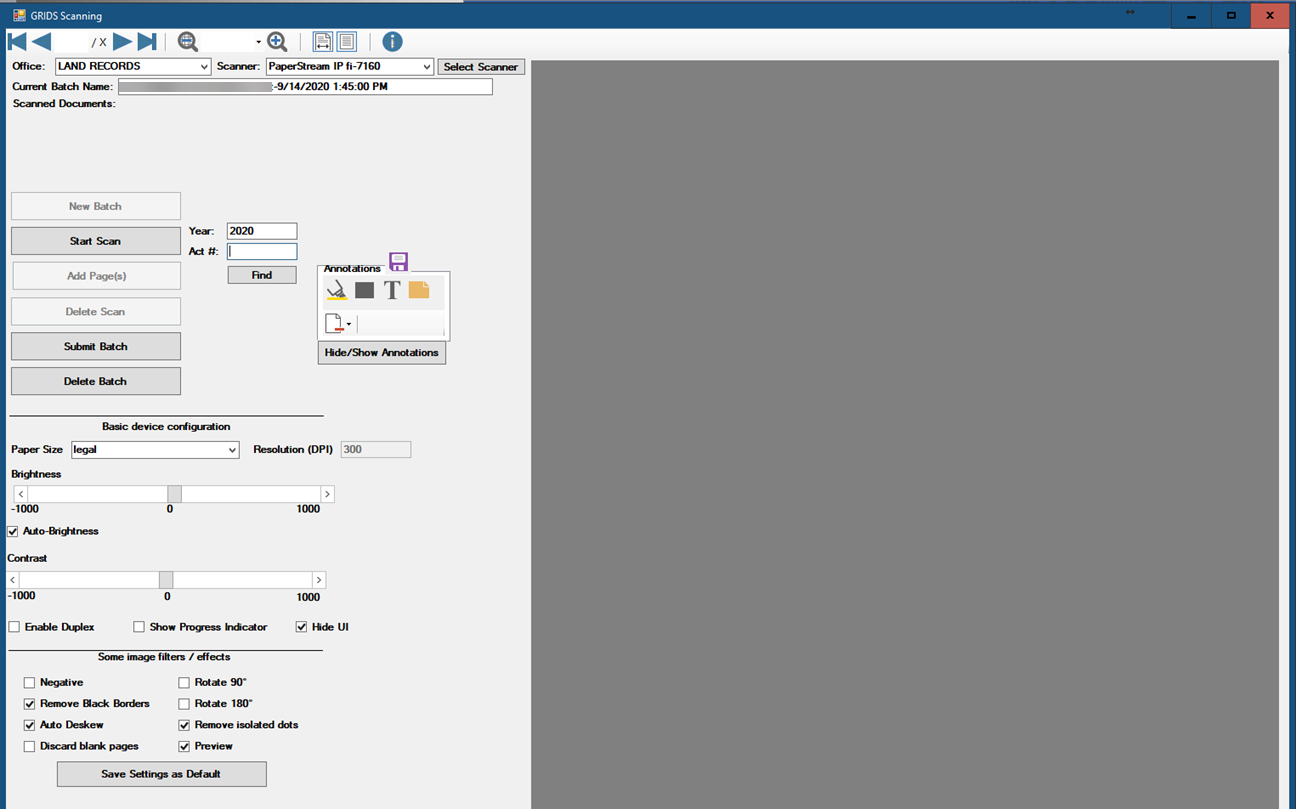
The GRIDS Scanning application opens.
-
On the GRIDS Scanning screen, make the following selections the first time you use the application:
-
Make sure Enable Duplex is checked if 2-sided scanning is needed.
-
Select Scanner by clicking Select Scanner if none selected.
-
Check paper size.
-
Click the button that is labeled Save Settings as Default to save these settings.
-
-
Place the document stack in the scanner feeder.
-
Enter the instrument number in the Act# box under the year.
-
Click the Find button.
-
With the correct instrument number highlighted, click the Start Scan button.
-
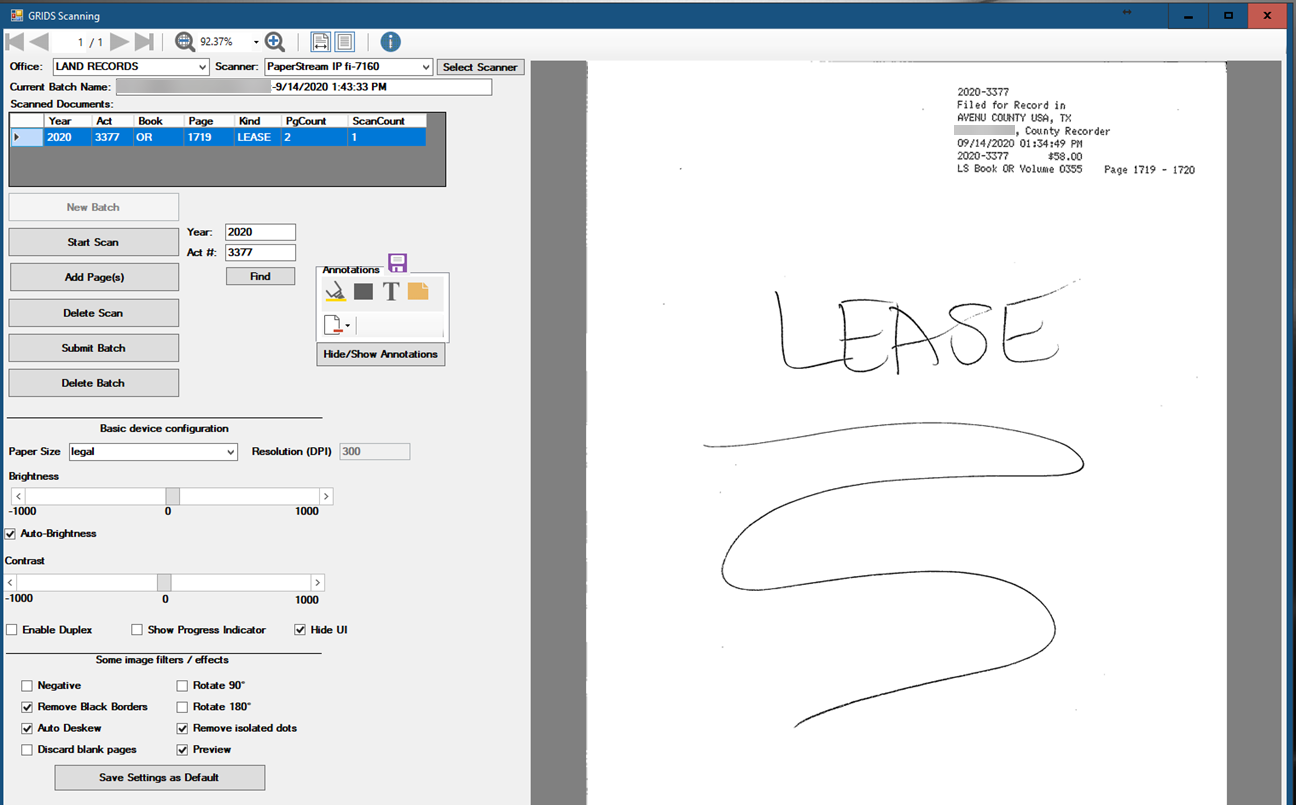
The document will appear in the window on the right of the settings. The scanning operation will count the number of pages that were scanned and compare that to the number recorded for the instrument. A message will about the page count discrepancy will appear if the two page counts do not match.
-
Click the Add Page(s) button to scan more pages into this document or click Submit Batch to complete it.
-
Multiple documents can be scanned into a batch. To scan another document before submitting the batch to the server, click the Find button to pull up the next document.
-
Annotations, or “redactions” can be added to a document by clicking the dark rectangle in the Annotations section. Click the rectangle, then draw the rectangle around the text to be “blacked out.”
-
Click the purple diskette icon to save the annotation.
-
Click Submit Batch to save the document to the server.
-
Close the Scanning page with the X in the top-right corner.
eStamps
Electronic stamps can now be applied to documents during the scanning process instead of being printed with a receipt printer or in conjunction with a receipt printer as a customized process. An example of a customized process would be printing file stamps on the first page and then electronically stamping the consecutive pages. eStamps can be turned on or off in the configuration.
If the system is configured to use electronic stamping, the stamps will appear on the scanned page with the option to move them around as needed to avoid overlapping text. The stamps are burned into the document when the scanned document is uploaded or saved.
